Table of Contents
- Expansion: Deluxe Pack (A4b)
- Updated: October 7, 2025
| Tier | Deck |
|---|---|
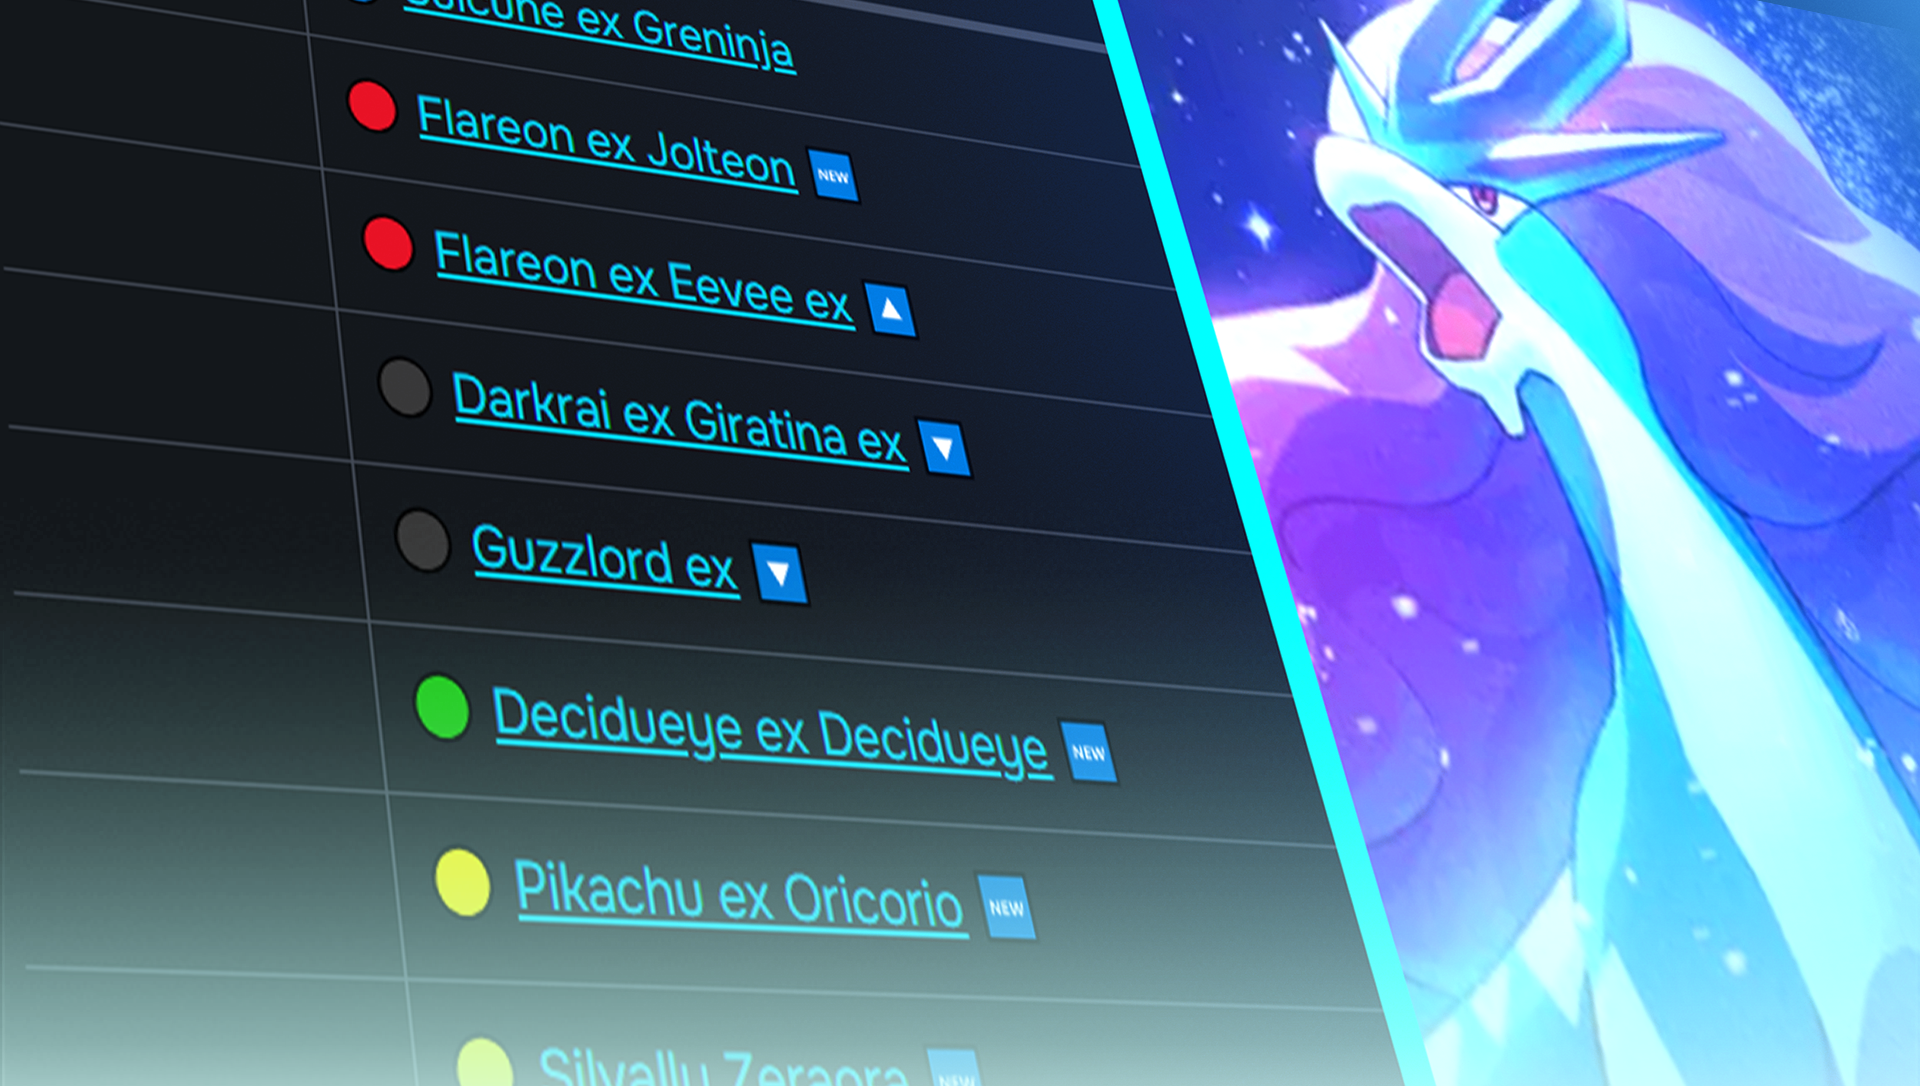
| S Tier | 🔵 Suicune ex Greninja |
| S Tier | 🔴 Flareon ex Jolteon 🆕 |
| S Tier | 🔴 Flareon ex Eevee ex 🔼 |
| A Tier | ⚫ Darkrai ex Giratina ex 🔽 |
| A Tier | ⚫ Guzzlord ex 🔽 |
| A Tier | 🟢 Decidueye ex Decidueye 🆕 |
| A Tier | 🟡 Pikachu ex Oricorio 🆕 |
| A Tier | 🟡 Silvally Zeraora 🆕 |
| A Tier | 🔵 Dragonite ex Sylveon ex 🆕 |
| A Tier | 🔵🟡 Greninja Oricorio 🔼 |
| A Tier | ⚫ Darkrai ex Arceus ex 🔽 |
| A Tier | 🟡 Arceus Oricorio Pichu 🔽 |
| B Tier | 🟤 Silvally Rampardos 🔽 |
| B Tier | 🟢 Buzzwole ex Pheromosa 🔽 |
| B Tier | 🟣 Espeon ex Sylveon ex 🔽 |
| B Tier | 🟡 Raikou ex Tapu Koko ex 🔽 |
| B Tier | 🟡 Raikou ex Magnezone |
S Tier
Suicune ex Greninja
Using only Water energy, the deck revolves around A4a-020's draw ability to rapidly evolve A1-087 into A1-089, creating a powerful engine that draws cards while dealing consistent damage. A4a-020 can also attack when needed. A2b-035 serves as additional reach, providing late-game knockout potential once the early setup is complete.
Flareon ex Jolteon
Only using Fire Energy. You try to evolve into A3b-009 right away as your main damage dealer. If you started with A4-066 going first, you can give Lightning energy into A1-102 to let it attack the next turn. If going second, you can give Lightning energy to A3b-009 while manually attaching Fire energy and on next turn letting it attack. A3b-034 is an additional draw option to make the deck more consistent.
Flareon ex Eevee
Only using Fire Energy. You try to evolve into A3b-009 right away as your main damage dealer. A4-032 can provide energy for Flareon ex or A1a-019. A3b-034 is an additional draw option to make the deck more consistent.
Giratina ex Darkrai ex
The deck sets up two staggering win conditions by fully charging A2b-035 with its Ability and manually attaching to A2-110. With only Darkness Energy, A2b-035 powers itself while A2-110 chips away each turn — once both are online, the pressure becomes overwhelming.
Guzzlord ex
Open with Guzzlord as you carry which can use Grindcore in the early game to possible remove energy from your enemy until you can use Tyrannical Hole to deal 120 damage. Use your Trainers accordingly.
A Tier
Decidueye ex Decidueye
Set up chip damage sources with A3-010 while evolving into A3-122 or A3a-005 through A3-144 or A3-011.
Pikachu ex Oricorio
A4-066 can start generating energy for any of your Pokémon. A3a-021 can charge energy on its own at the start then you can transfer those energy with Lightning Switch. A3-066 serves as your backup option against EX Pokémon, while both Pikachu are your main damage dealers.
Silvally Zeraora
You can start with either A3a-060 or A3a-021 but if going first, prefer A3a-021 since it generates energy on turn 1 and then attack the next turn. Evolve A3a-060 into A3a-061 to deal 100 damage per turn as long as you play Supporter.
Dragonite ex Sylveon ex
Using only Water energy, we use A4-066 as our Lightning generator to give it to A3b-051. Evolve A3b-051 into A3b-053 using A3-144 and deal damage. A4-134 into A3b-034 is our access to more draw to evolve A3b-053.
Greninja Oricorio
Running Water and Lightning energy, you try to assemble A1-089 to start hitting with its ability.A3-066 as your hitter and wall against EX decks, while A2b-035 can serve as another option as a damage hitter.
Darkrai ex Arceus ex
Using only Dark energy, the deck uses baby Pokemon generators to accelerate A2a-071 and A2-110 setup while creating immediate pressure. Starting with any baby Pokemon, you charge your main attackers. A2a-071 paired with A2b-071 easily hits 140 HP breakpoints, while A2-110's ability can push damage up to 170. A3-141 provides additional utility when going first or against A3-066 matchups.
Arceus ex Oricorio Pichu
A4-066 can start generating energy for any of your Pokémon, even A2a-071. A3a-021 can charge energy on its own at the start, making for a good turn 1 play. A3-066 serves as your backup option against EX Pokémon, while A2a-071 is your main damage dealer.
B Tier
Silvally Rampardos
Always start with Type:Null then evolve into Silvally to deal 100 damage every turn with a Supporter. Evolve Fossil into Rampardos as your other damage dealer.
Buzzwole ex
The game plan usually starts with A3a-007 or A3a-008, chipping away while you set up A3a-006 to swing with Big Beat for 120 damage. A3a-069 helps accelerate this if needed. Once you’ve attacked, you’ll typically switch out A3a-006 with A3a-062, then retreat back to A3a-006 to attack again. A3a-062 also gives you the flexibility to switch out itself or A3a-006 if you open with them, letting you pivot cleanly into A3a-007 early on.
Espeon ex Sylveon ex
Get A4-083 online as soon as possible and start swinging for 80 with just 2 Energy. Thanks to its healing ability and A2-147, A4-083 is extremely hard to one-shot.
With A3b-034 helping you get set up quickly, and Supporters, you can consistently take control of the game.
Raikou ex Tapu Koko ex
Use A4a-025's Legendary Pulse to draw through your deck and access trainers quickly. Generate energy with A3a-021, then use A4-151 to move energy between attackers for flexible responses. Close games with A2b-022's high damage output.
Raikou ex Magnezone
The deck leverages A4a-025 as both draw engine and bench damage dealer while building toward A2-053 as the primary win condition. A1-098 generates Lightning energy through its ability, setting up massive A2-053 attacks with enough energy accumulation. A3-066 provides crucial backup against EX-heavy matchups, while double A2-150 becomes more effective thanks to A4a-025's bench damage creating better knockout opportunities.
Tier Explanation
To create this Meta Tier list, I used data from tournaments and my expertise and opinions of respected players. This tier list will hold meta-staple decks that you'll likely encounter in tournament play and will be updated as the meta changes up.
The decklists shared here have found success in tournament events but can be tweaked depending on meta shifts or players' preferences.
S Tier: The top performers and most represented decks in the meta. They have good matchups in the current meta and can adapt to different game scenarios. Expect to encounter these decks frequently in tournaments, with players strategizing specifically to counter them.
A Tier: Popular Meta decks that have solid matchup tables. Tier 2 decks can rival Tier 1 decks in performance, but may have weaknesses and less representation, holding them back from joining Tier 1.
B Tier: Comprising less popular decks or those experiencing a decline in performance, Tier 3 includes options that may still yield respectable results in tournaments. However, they often struggle against certain prevalent matchups. Additionally, this tier encompasses decks with limited data, making it challenging to accurately assess their placement in higher tiers.
C Tier: The less popular off-meta decks or have fallen out of the meta. They might still show up in tournament top cuts but are less likely to perform against the top meta decks.