Table of Contents
Do you consider yourself a food vlogger, a food content creator, or simply someone who likes uploading homemade recipes on the web? Sometimes, even with sharp video and good lighting, the finished recipe feels incomplete without a voice guiding the viewer through it.
Finding a voice actor or doing it yourself is exhausting and stressful. This is where the CapCut PC fits the bill. It has a built-in text-to-speech function that turns your typed recipe instructions into a cheerful voiceover.
You don't need a microphone or recording studio equipment. In this post, you will learn how to use CapCut PC to add colorful voiceovers to your cooking recipes. It's simple, quick, and makes your recipes more fun to watch and easier to cook along with.
Why Use AI Voiceovers for Cooking Videos?
Adding voice-overs to create recipe videos makes all the difference. To keep the audience interested, it also makes them focus on every step. A cheerful and soothing voice also makes the video appear friendly and easy to learn.
With the CapCut Desktop Video Editor, you don't need to speak or make someone else speak. Its text-to-speech feature reads back your script in a natural tone. This conserves your time and allows you to upload videos faster.
If you have someone observing someone who has poor eyesight, you can have the voice read to them through the recipe. It will read out the ingredients as they appear on the screen, and walk you through cooking step by step.
The most amazing thing is that the voice is not computer-generated. You can choose from a range of tones like warm, cheerful, or enthusiastic. These are really excellent for writers who have no recording equipment at home.
Just keep in mind, though, that some of these voices need to be paid for. That's why a lot of users also turn to programs like an AI voice generator to make their narration even better.
How CapCut PC's AI Voice Feature Improves Recipe Commentary
CapCut Desktop Video Editor has an embedded text-to-speech. You just write your script, and the software transcribes it into voice. That is all there is to it. You will not need a mic or any kind of audio equipment.
This is perfect for recipe videos. The narrator reads out every step at the same pace, so it can be easily followed without any confusion. It correctly pronounces ingredient names and enunciates them clearly, which makes it easy for newbies to understand. It also has no background noise such as home recordings.
You can change the voice tone based on your recipe. If you're showing a cake recipe, select a happy or playful voice. If it's a slow-cooked recipe, a calm voice is best.
You can even change voices within a single video to prevent boredom. CapCut PC offers many voice tones, but be aware that some are paid and must be bought to utilize them.
To get the total upgrade, the majority of creators also up their video quality with an AI video upscaler. This makes the footage sharper and more interactive besides the voiceover narration.
How to Use AI Voice Narration in Cooking Videos with CapCut PC
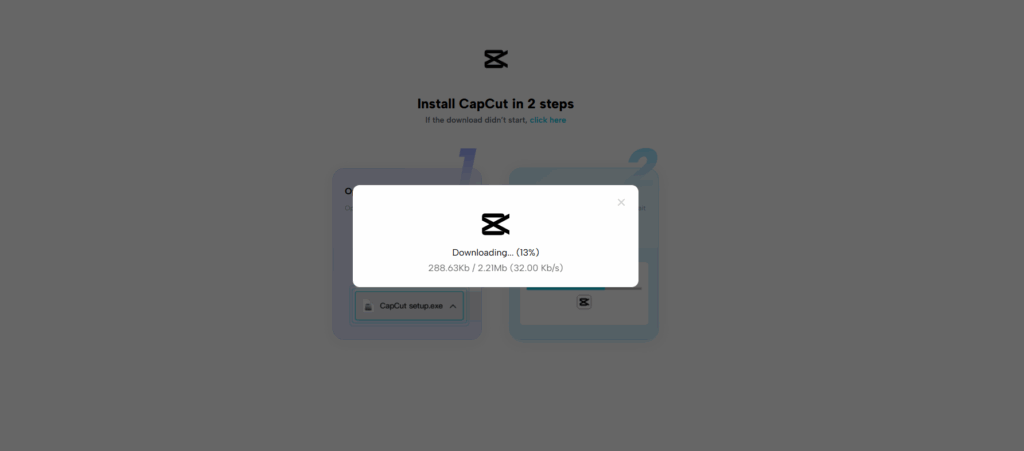
Step 1: Download CapCut PC from Official Website
Start by downloading the CapCut PC from its official website. Click the download button and simply follow the instructions to install it on your machine. It is compatible with both Windows and Mac.
Sign up for a free account to receive access to the main tools. Be sure to download it from the official website in order to stay away from dangerous or outdated versions.
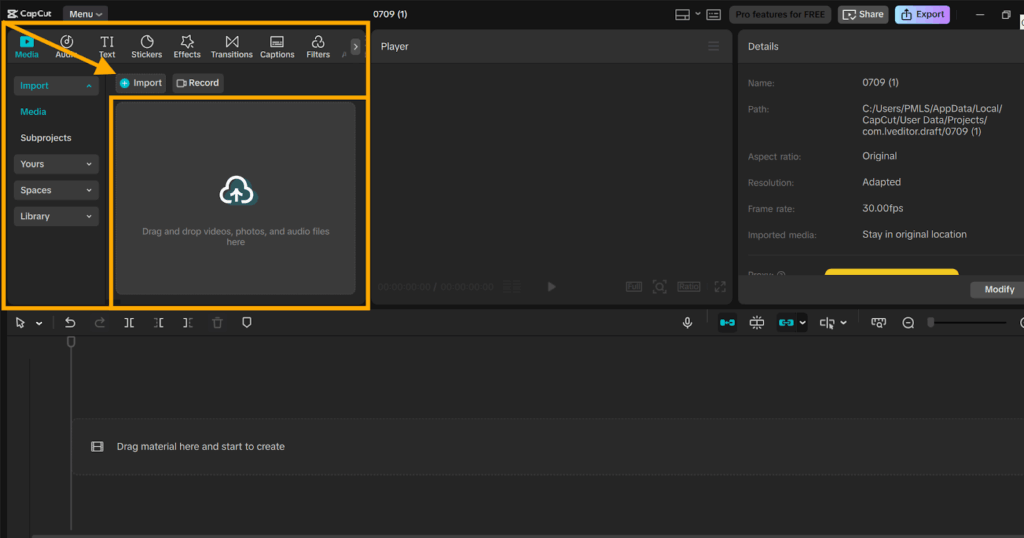
Step 2: Import Your Cooking Video Footage
Open CapCut PC and click on the “Import” button in the top left corner. Choose the video clips you’ve already recorded. Once imported, drag and drop them into the timeline at the bottom of the screen. Arrange your clips in the right order, such as the intro, ingredients, preparation steps, and final dish.
Step 3: Add AI Voice Using Text-to-Speech
Double-click your video on the timeline. Next, go to the right-hand panel and click on "Text to speech". Type in the narration you would like for each part of your recipe. Pick one with a happy voice from the list of voices based on your cooking method.
Click "Generate speech" to turn your text into voice. Play it back and pitch or speed-adjust if required. Use separate voice clips for each step of every recipe to ensure natural flow. Note that certain voices and settings may need a paid account.
This tool does its work by using text to speech AI tool, which makes your script sound normal and readable.

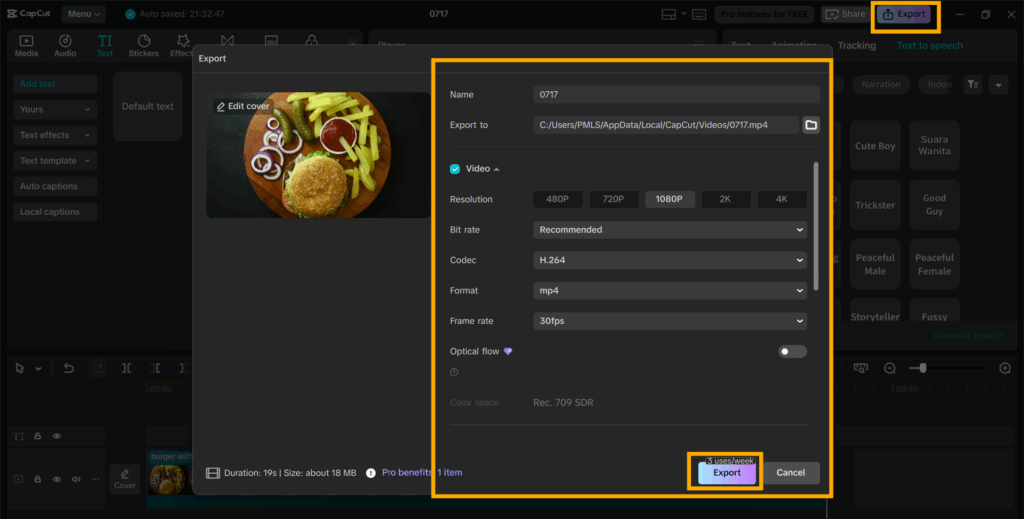
After editing, click on the "Export" button in the top right. Choose your video size, resolution, and frame rate depending on where you're going to upload it.
Save the video on your device. You're now set to upload it onto your cooking channel, Instagram, or wherever you want to upload your content.
Conclusion
Having a cheerful voiceover to your cooking videos makes them funnier and more fun to watch. It helps you to explain each step in detail and keep your audience engaged throughout.
With the CapCut PC, beginners can create professional-sounding and professional-looking videos. You don't need any recording equipment, just type in your script, choose a voice, and you're ready to go.
While most capabilities in CapCut PC are available for free, some voices and features may necessitate a paid upgrade. It's time to give it a try yourself.
Download CapCut PC from the official site and bring your recipes to life with friendly, easy voice narration. Turn your recipes not just tasty, but fun to see and hear.